Sunday, October 9, 2011

How Students are Graded

ART ASSESSMENT

All Twin Spruce Art Teachers are using the same assessment to evaluate student projects. We use a four point grading system that assesses our students progress. The top four sections of the assessment always stay the same the bottom two sections are adjusted to fit the criteria of individual projects. 


Other projects in Mrs. Hussey's and Mrs. Crump's class


COLLAGE                                                               


Student cut out images of people from magazines and used their outlines to create a silhouette. The students incorporate the silhouettes into their collage.

NEWSPAPER PORTRAIT
Students start this process by tearing and gluing newspaper onto a piece of paper to create a background. Then they create a grid on both the newspaper and their picture. The grid creates a guide when students are drawing their portraits.  

Abstract Watercolor
Students created an image and fragmented it to look like puzzle pieces. Then students experimented with mixing watercolor. 

Collage/Drawing Project


Students create a small scaled collage out of magazines. They create a grid on the small collage that they double on their drawing paper. Then students draw a magnified version of the collage they created. 


Deconstructed Books


Students use discarded book create a work of art by painting, crimping, cutting, punching and folding.


Saturday, October 8, 2011

Mrs. Hussey's 9th Art II-Stain Glass

 STAIN GLASS
Students start the stain glass process by creating two copies of an original design.


After they create their design students number each section of their design and use the light table to create a copy.


 Students color one copy and save it as a guide. The other copy is cut out and glued to glass to guide students when they cut their glass.
After cutting their glass students put their glass back together and start to copper foil the edges. 


When the entire peice is copper foiled students again assemble their stain glass and prepare for soddering. 


Students sodder and add finishing touches like chains to hang their stain glass. 

Here are a few finished products. 


Mrs. Hussey's 9th Art II-Nylon Stocking Sculpture

NYLON STOCKING SCULPTURE

First student create a base using a square block. They drill holes into the base and attach wire into the holes. 

Then the students cover the wire and the base with a single nylon stocking. They then form the wire to a pleasing form. 

Students then cover the nylon with Gesso. 

After sculpture are dry student can use paint to give their sculpture character. Painting the sculptures took them to the next level by creating character and bold statements.

Mrs. Crump's 8th Art II- Keith Herring Figures

KEITH HERRING STYROFOAM FIGURES


Keith Herring was a recognized modern street artist in New York City. He began drawing at a young age and found his love for cartooning from his father. Herring died in 1990 from AIDS related complication. For his complete biography visit this link:  http://www.haring.com/about_haring/bio/index.html

As a class we learned about the history of Keith Herring. Students studied the concept and common themes of his figures. 
Then students used the important aspects of the figures to inspire their creation. They had three important directions to follow.
1. Figures should resemble Keith herring's artistic style
2. Figures need to be doing an action.
3. Finish figures with bright colors just as Keith Herring would use. 
Students started by drawing their individual design onto a piece of styrofoam. Then they cut out their figure with a styrofoam cutter. The wire on the cutter is heated and cuts through the styrofoam like butter. Coolest tool I've ever seen. It creates limited mess. 


Once the figure is cut out students paint their figures using bright colors. 


 When students have completed the painting process they construct their figures using toothpicks and glue as support. Although the result is fragile. The students end products were inventive and reminiscent of Keith Herrings artistic style. 


Mrs. Crump's 9th Clay Animation Class

CLAY ANIMATION
Clay Animation is a semester long process. In the end the student will have created a wonderful film that they've created from scratch. 

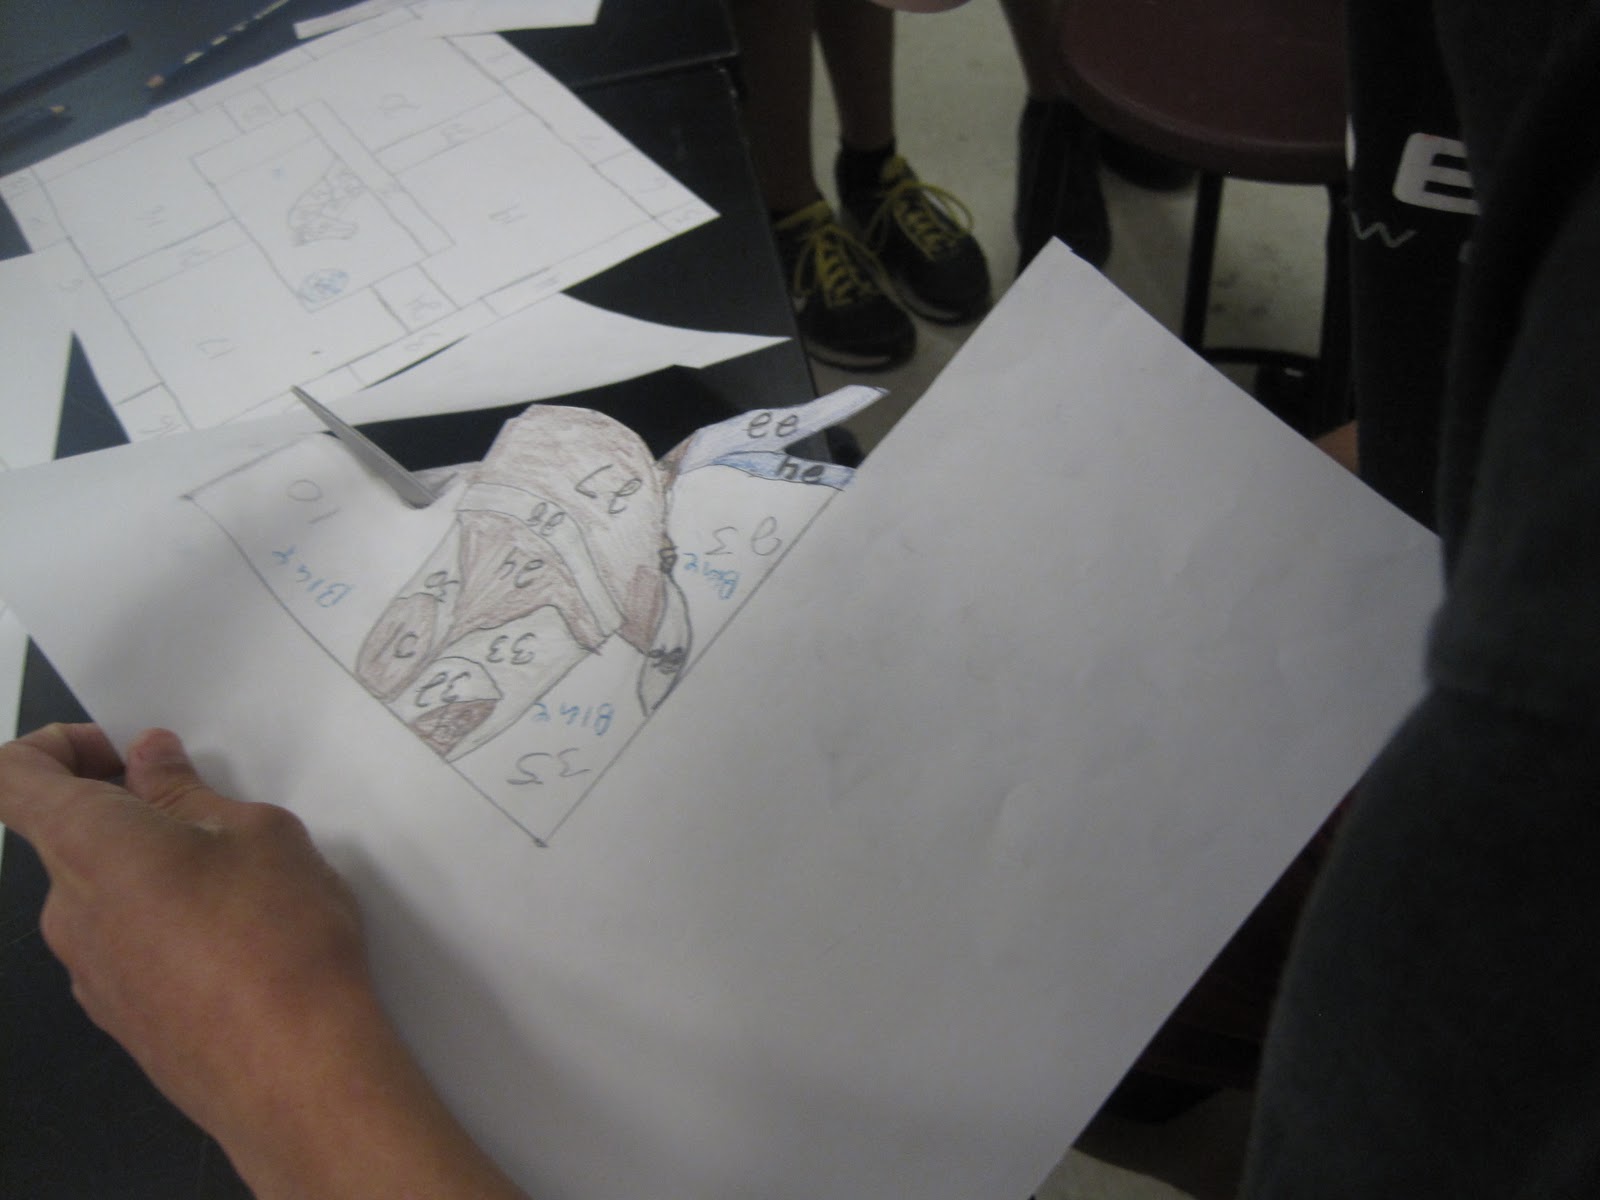
1. Planning: The student are given a workbook where they create characters, background, storyboards, and write thoughts and drafts of story line.


Students also investigated the history of Clay Animation through the internet. 


2. Construction: After student work in their workbooks for what seem like forever, they finally start the hand on process. Students start with the backgrounds or sets. They create them in a cardboard box using paint, glitter, and a variety of other materials.

Also in the construction faze is building props. Students use legos to create structures such as castles, houses, trees and other necessary props. 

Here is an example of a tree. 


3. Clay Figures: Students have to create their characters in their movies with clay and wire. 
First students make an armature to support the clay figures. 


After their armature is made students use clay to cover the armature and start the transformation from wire to character.


Here is an example of a character before and after. 


Now that we have our characters and backgrounds made we're working on taking pictures. This is the "Stop Motion" part of Clay Animation. The students take still pictures of each seen.